DIY Sundays: Candle Crafts
You know how people decorate their houses for holidays or to signal the change in seasons? Well, I do that too, except with candles. I LOVE CANDLES (yes all caps is warranted when it comes to candles)! I have candles for each holiday/seasonal change. The smell of white birch candles during the winter means that a live Christmas tree will soon be neigh, or the smell of Gardenias signaling the coming of tulips and hay fever (lol). My mother was always huge on candles as well, making huge pillar candles at Christmas for our neighbors. I can still remember cutting the tops off of eggnog and milk cartons we saved for the molds. There's just something about those scents running through the house and the flames flickering that always makes me feel like I'm home.
Now here's the problem with having candles constantly burning in my home, the price of said candles are also burning a hole in my pocket (see what I did there, that's called imagery folks). So this week, also seeing the value of being able to upcycle what I eat every day, I decided I would make my own candles for this coming season. Now I made his and her candles for my brother's rehearsal dinner favors (separate post to come later) so I already had my supplies handy. You can buy candle making materials at a craft store like Micheals but it can be stupidly expensive, so I ordered a soy summer/spring kit from CandleWic through Amazon, which provides you with everything you need to make 12 scented soy wax candles. If you don't like any of the scents that the kit comes with you can always use essential oils to scent your candles. OK so let's get to it!
Upcycle Project: Make your own candles!
Total project time 1 hour
Directions:
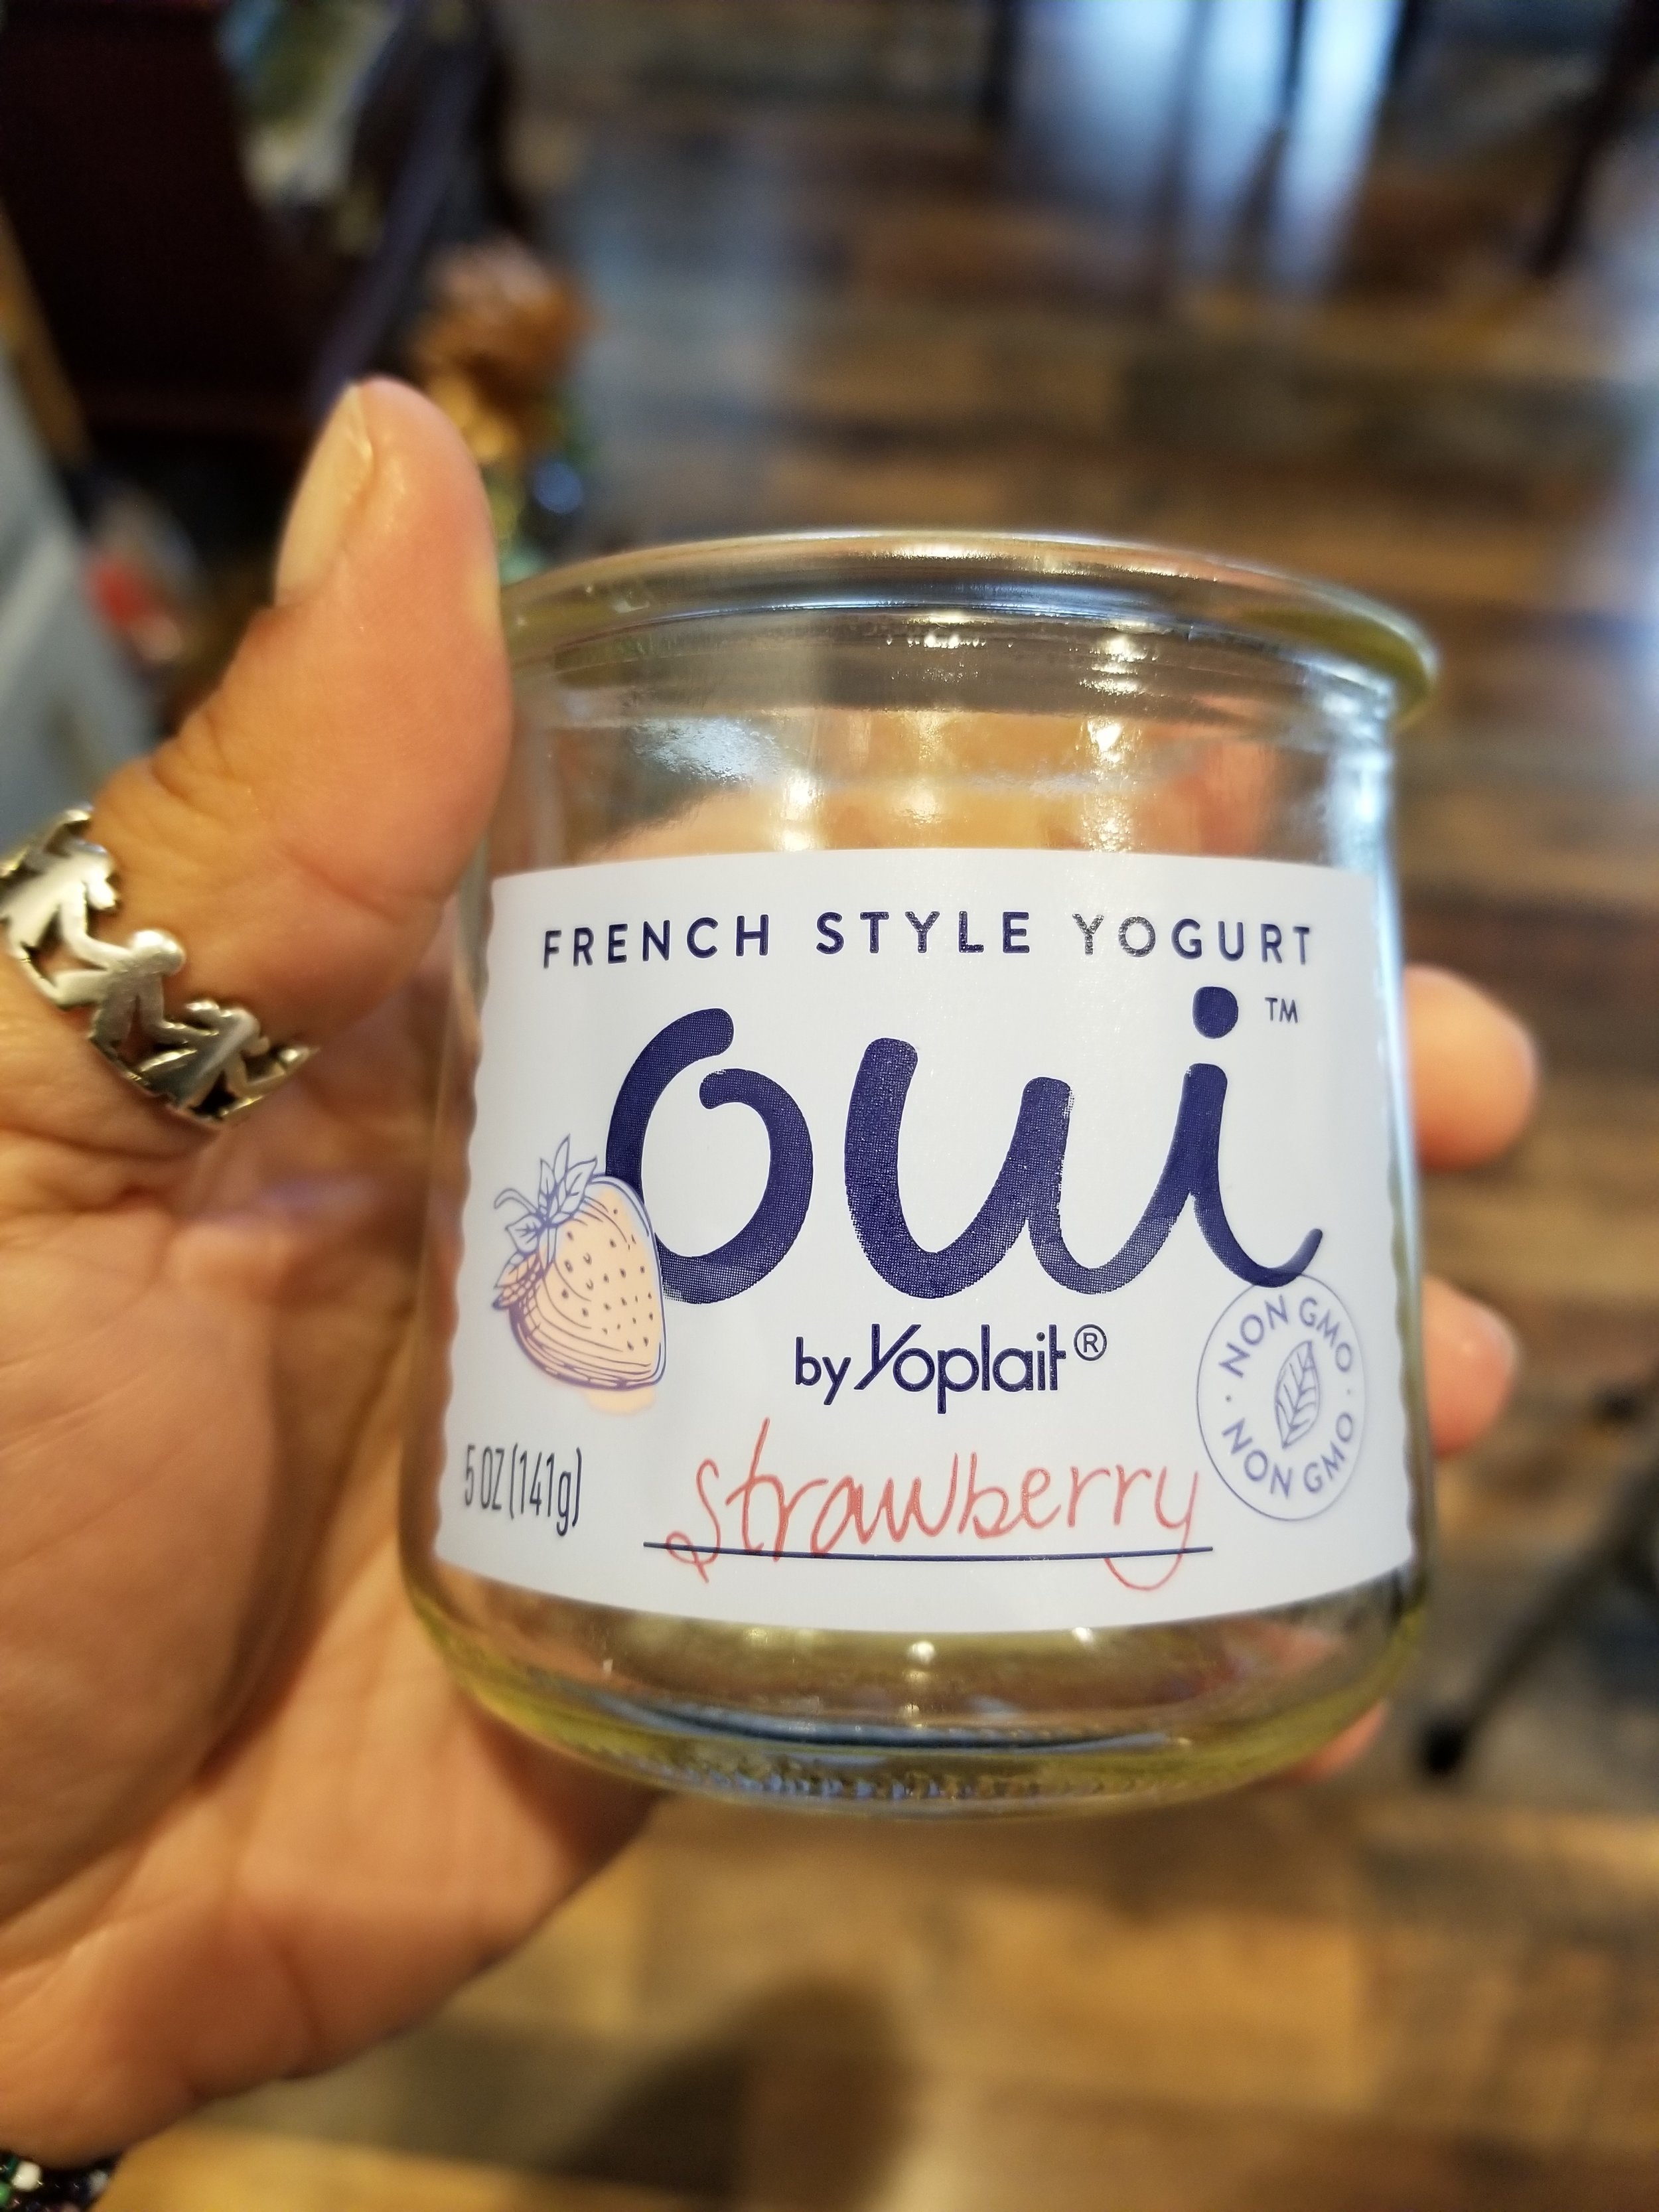
Step 1: Buy Qui by Yoplait yogurt (now, this is not a plug for Yoplait yogurt but I LOVE the strawberry flavor and the jars are the perfect size to do all sorts of things)
Step 2: Eat Yogurt (YUM YUM YUM)
Step 3: Clean glass containers
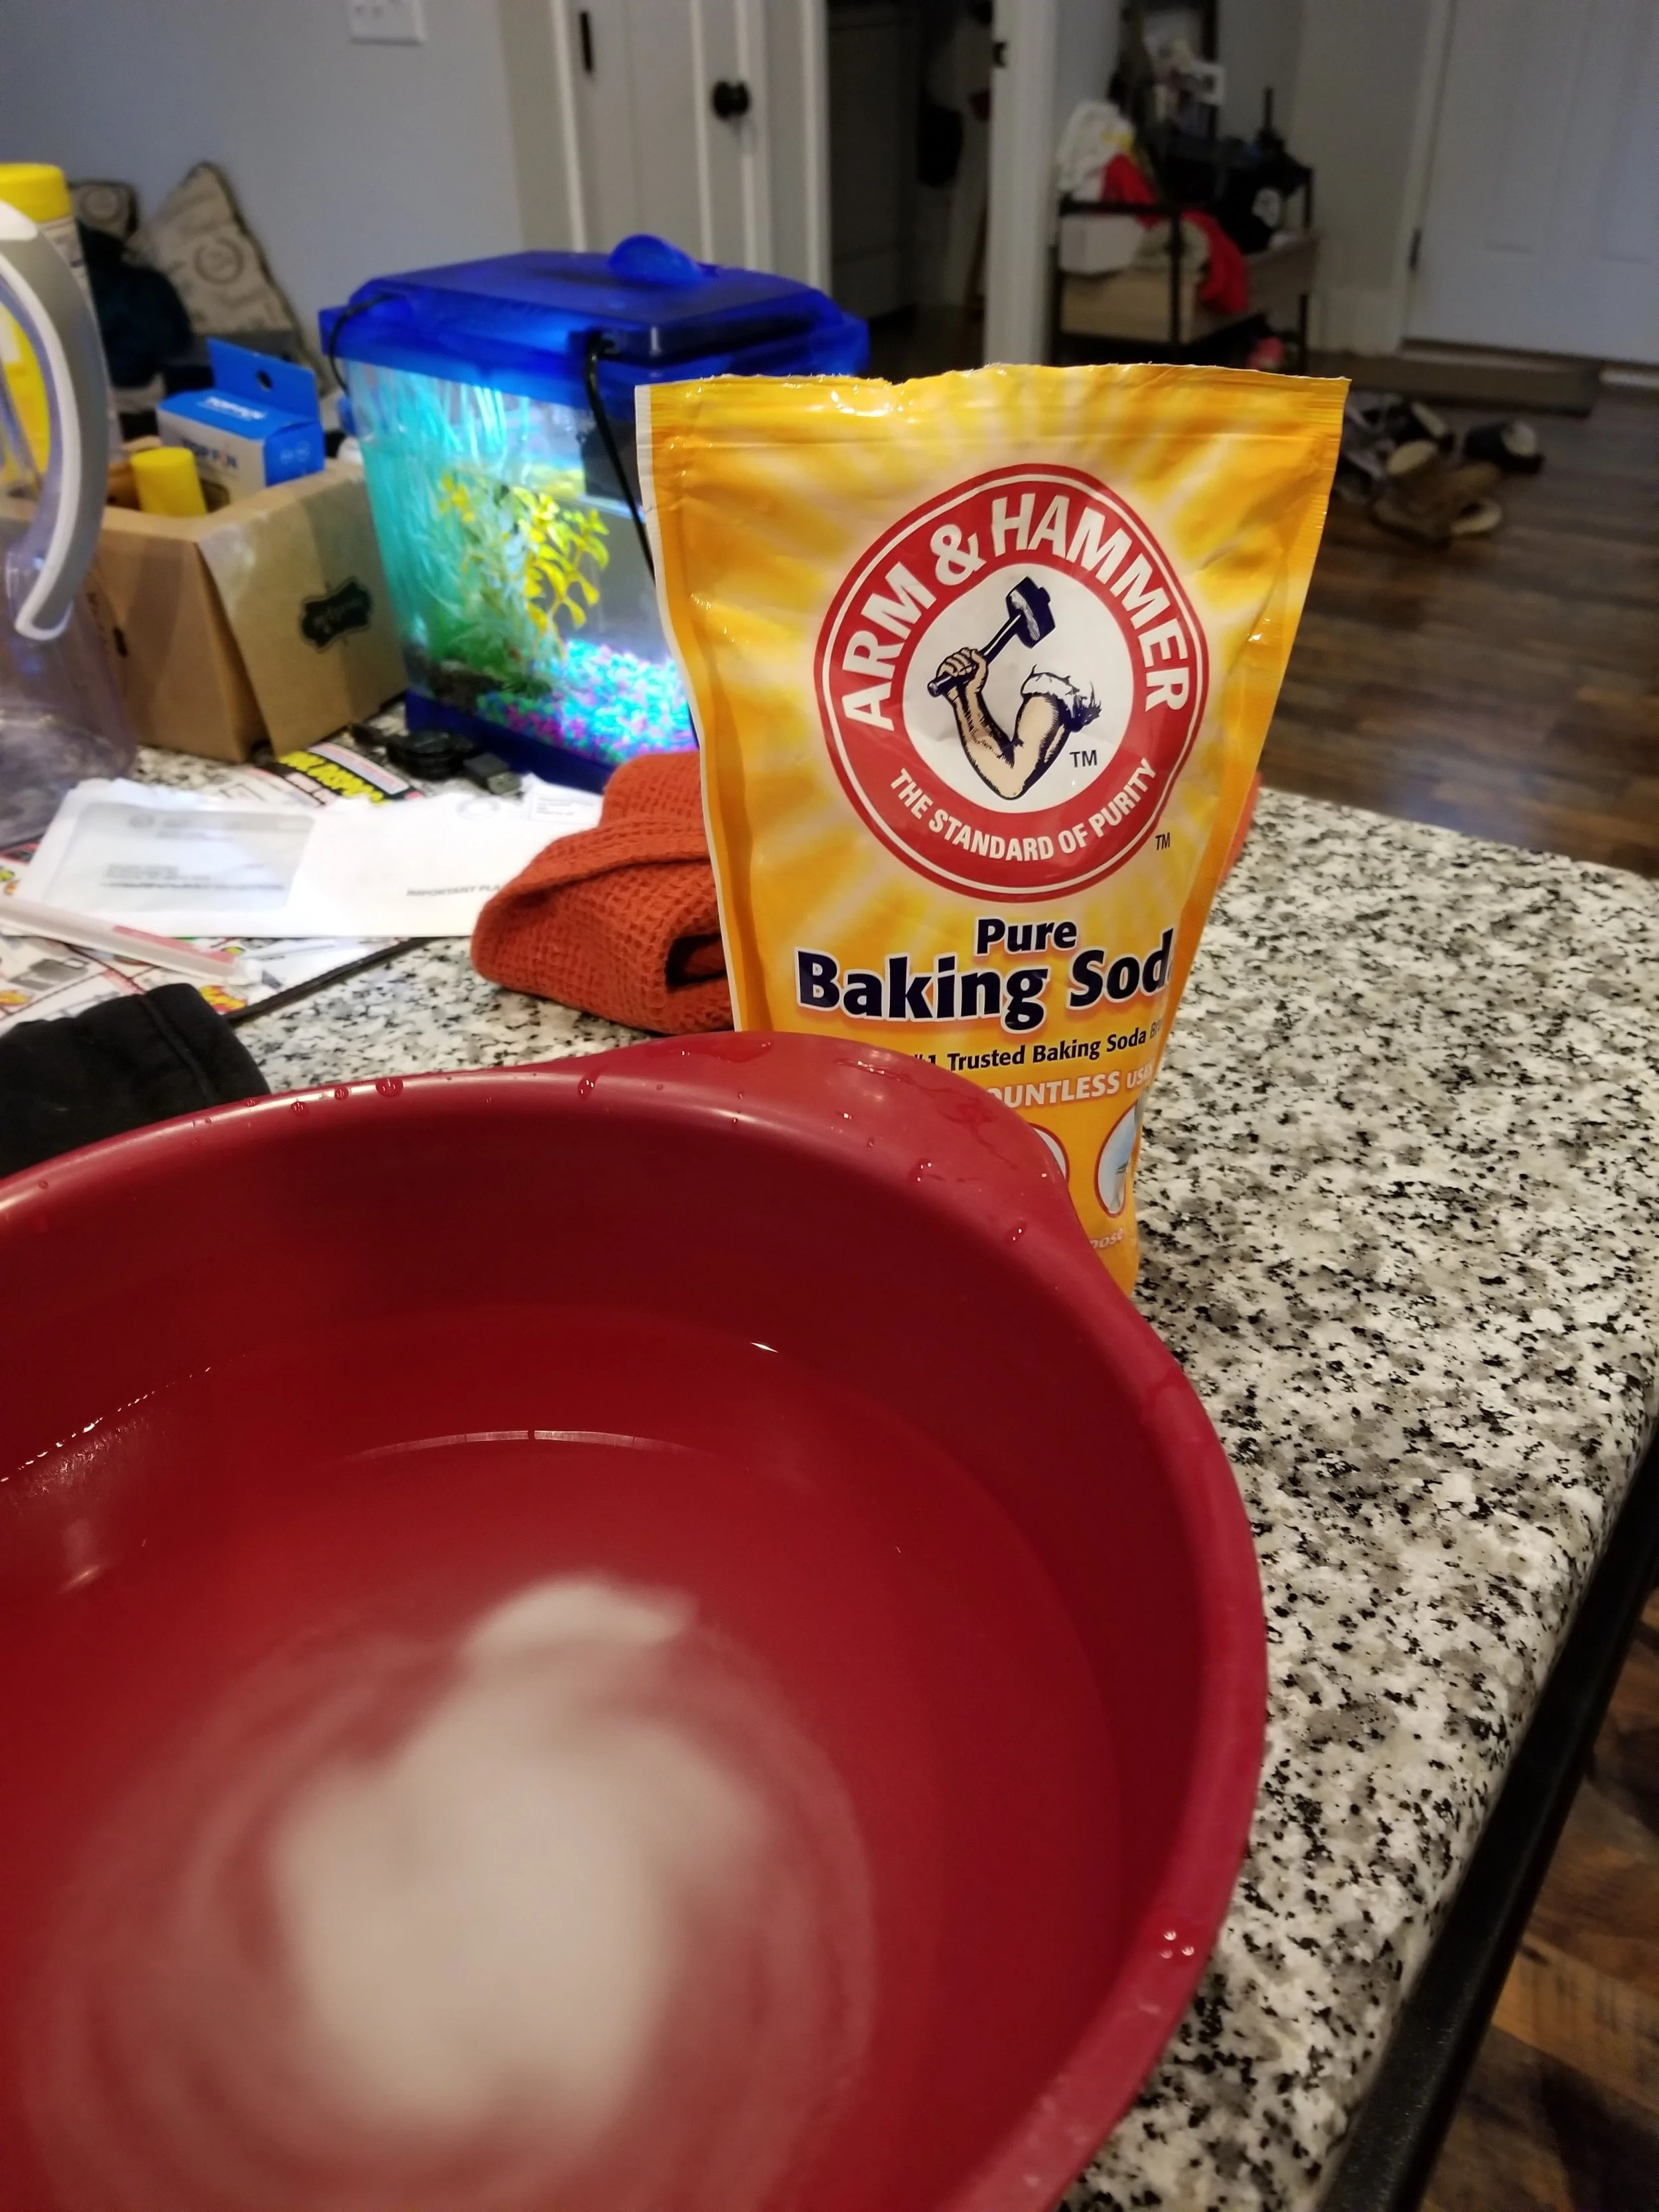
Step 4: Put water with 5 tablespoons of baking soda mixed in a large pot and place the glass containers in the water and place the pot on the stove covered and let boil for 15 minutes.
Step 5: Remove glass containers with tongs or pliers ( channel locks pictured here) and peel off labels when the glass is cool enough to touch (Tip: run under room temperature water to speed up cooling process)
Step 6: Place jars back into the pot with boiling water to remove remaining glue/residue from glass for 5 minutes.
Step 7: Remove glass containers from water, place in large mixing bowl with room temperature to cool glass.
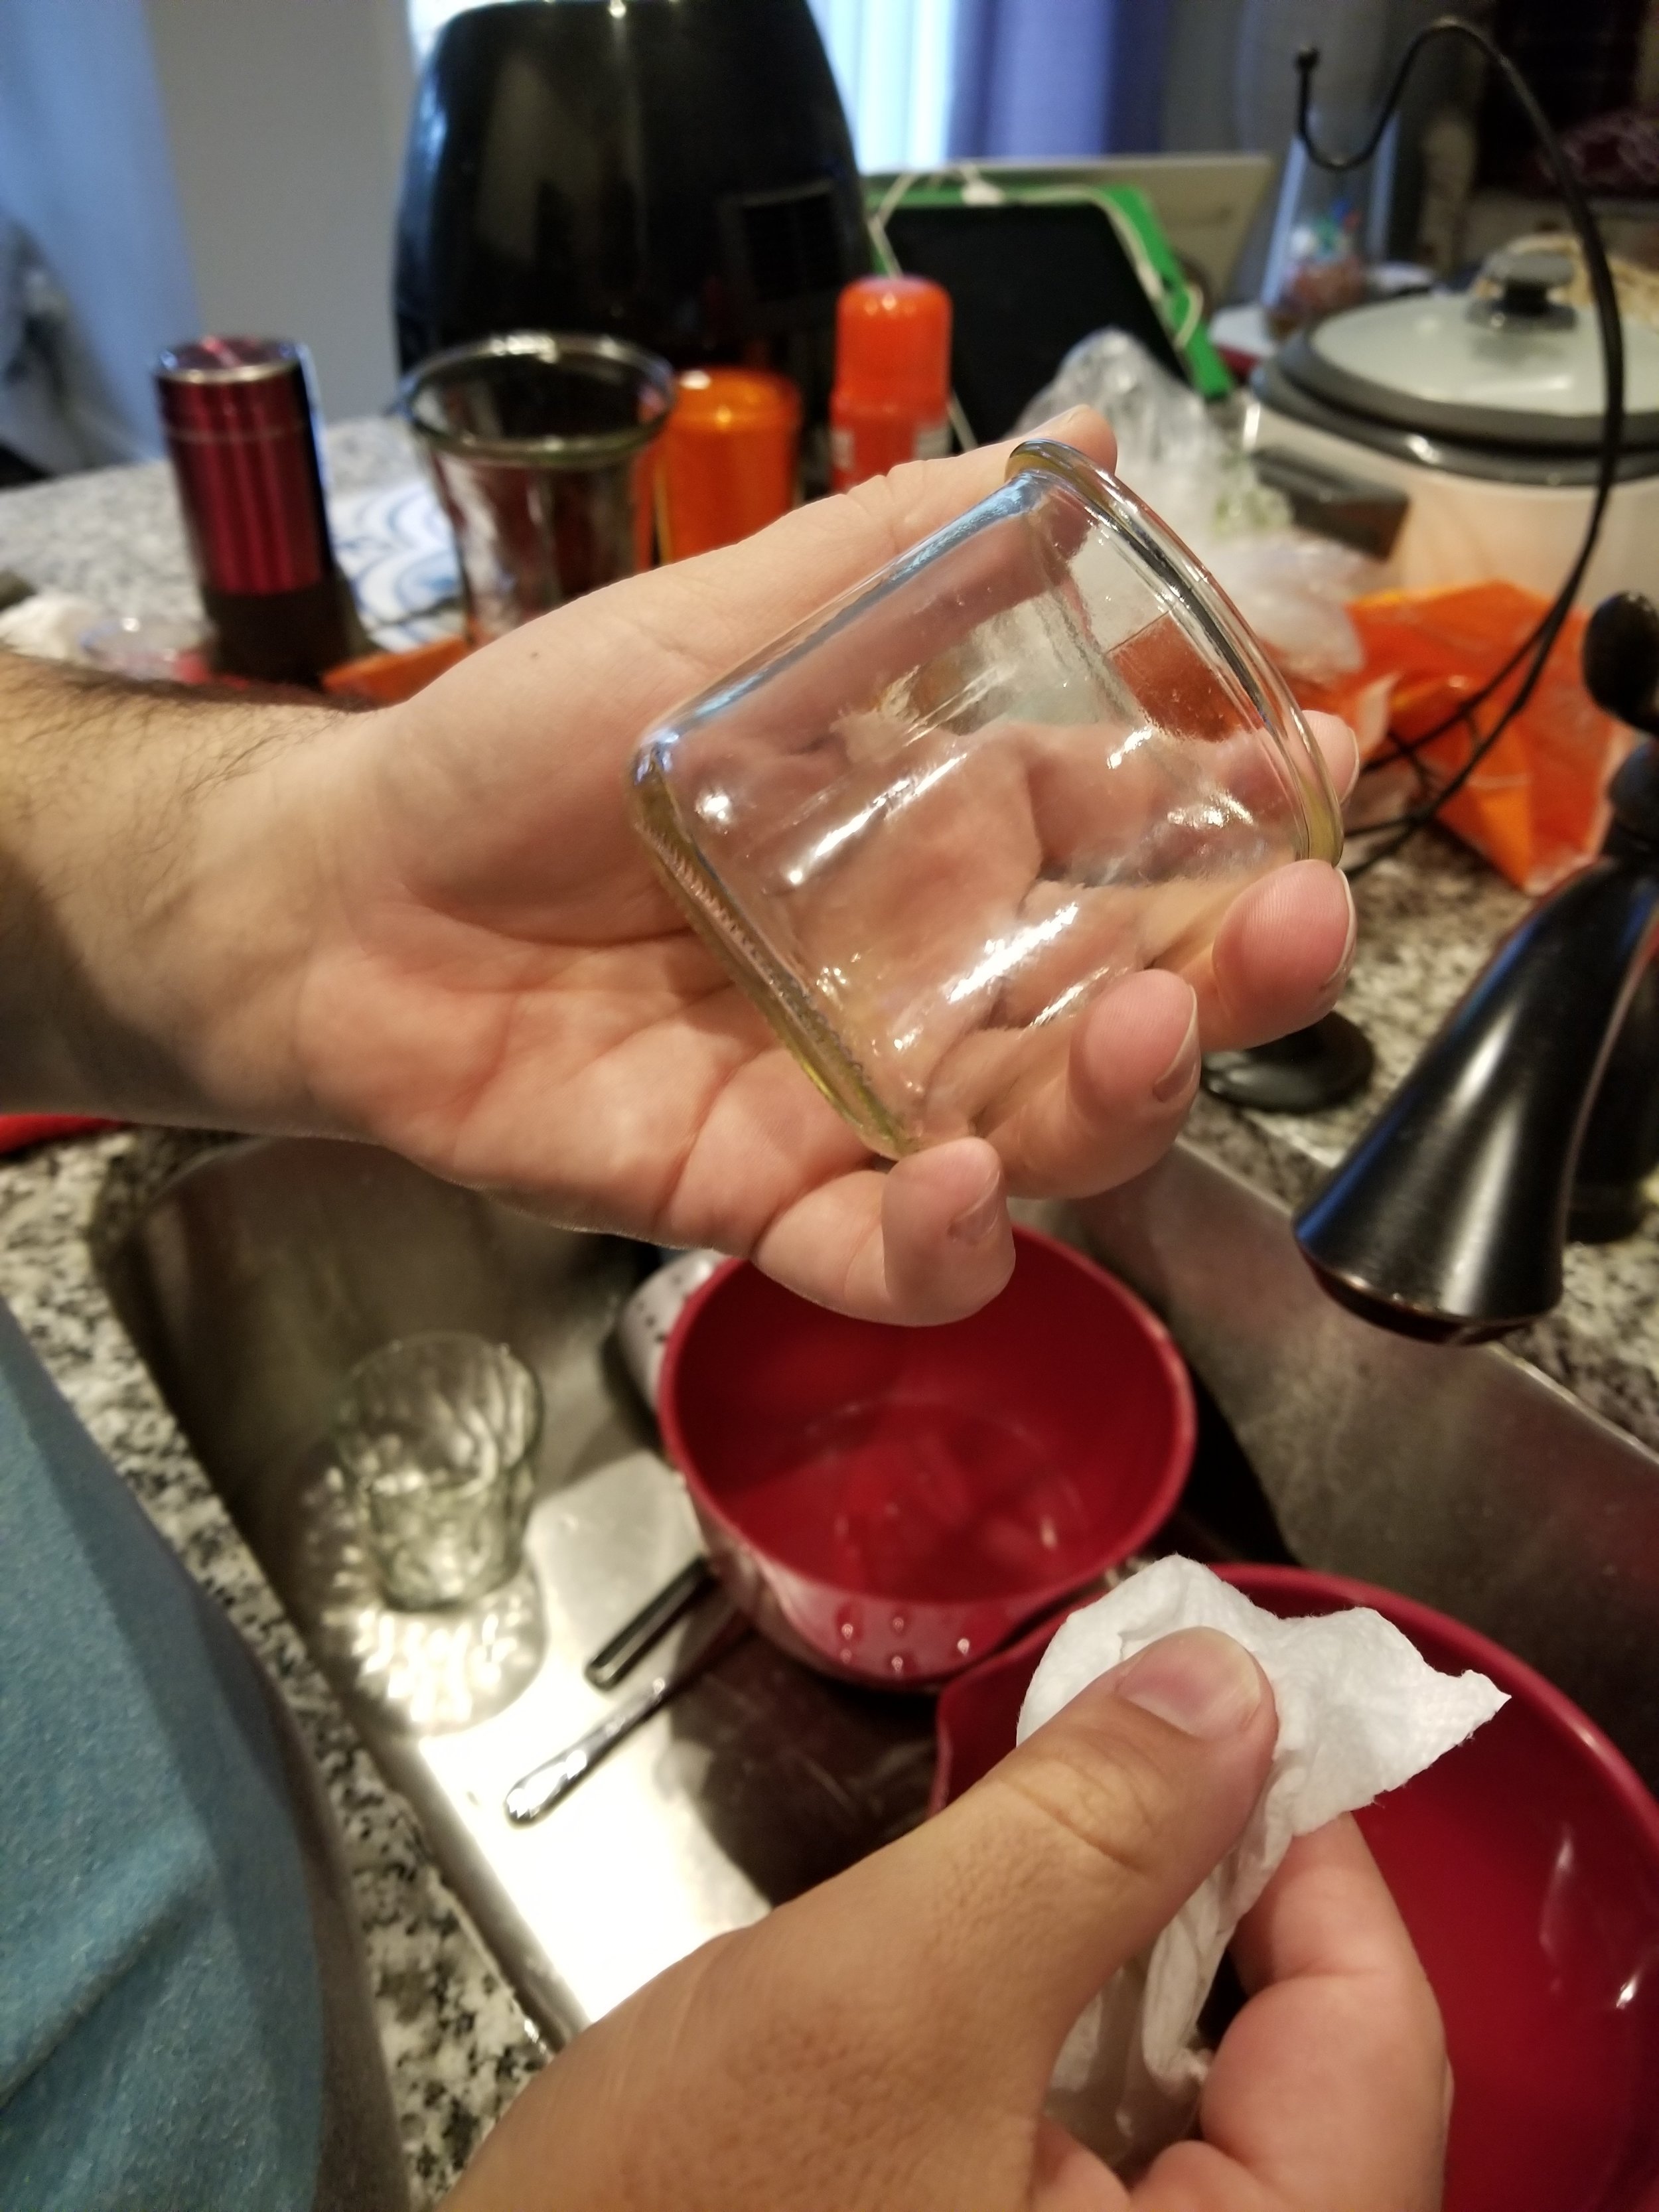
Step 9: Use mineral spirits and paper towel to remover the remaining residue and make the glass shine. (Side note ladies and gents if you just got a manicure the mineral spirits will strip your nail polish wear gloves!)
Step 10: Wash off mineral spirits with soap and water and let dry.
Now that your vessels are all prepped and ready to go it's time to prepare the wax and wicks for your candles. For this part, I followed the Candlewic instructions which I have reproduced here.

Directions:

Step 1: Prepare an area for the candles to be poured by placing newspaper or large sheets of paper over a firm and flat area (I just put them on my countertop next to the stove lol)
Step 2: Place the glue dot on the bottom of the metal sustainer on the pre-wick. (It's nice that they come already made. I used to have to dip string in wax a ton of time and wait for them to dry. I don't have that kind of patience.)
Step 3: Place the metal sustainer of the pre-wick in the center of the tin and press down to help secure it to the bottom. ( You can also use melted wax from old candles to adhere the wicks to the bottom.)
Step 4: Take one of the 1lb. bags of the soy wax (burns cleaner, though paraffin is cheaper) and empty the contents of the bag into the pouring pot.
Step 5: Heat the wax by placing the pouring pot into a large pot of water that has been brought to a boil. This will create a double boiler; don't place the pouring pot on direct heat. (like melting chocolate..yummm)

Step 6: Heat the soy wax until it is completely melted, once the wax is melted place the thermometer in the wax to get the temperature reading.

Step 7: Allow the soy wax to cool to 140 degrees Fahrenheit and add the fragrance of your choosing. (It must be at 140 degrees or your candles will end up with air bubbles which cause sink holes in your candle) Use 1 oz. fragrance per 1 lb. of soy wax. (For these candles I used Red Pineapple. Feel like I'm on my way to the Caribbean right now.)
Step 8: Once the fragrance is added, pour the wax into the glass container. Fill the container until the wax reaches the groove in the top of the glass. (I used a plastic funnel for this part so as to keep the mess I probably would have made at bay!)
Step 9: Once the candles are poured, take the bow tie clip (or clothespins, or pencil) and place the top of the pre-wick through the center hole of the bowtie clip and secure place on top of the glass container. Allow candle to completely cool.
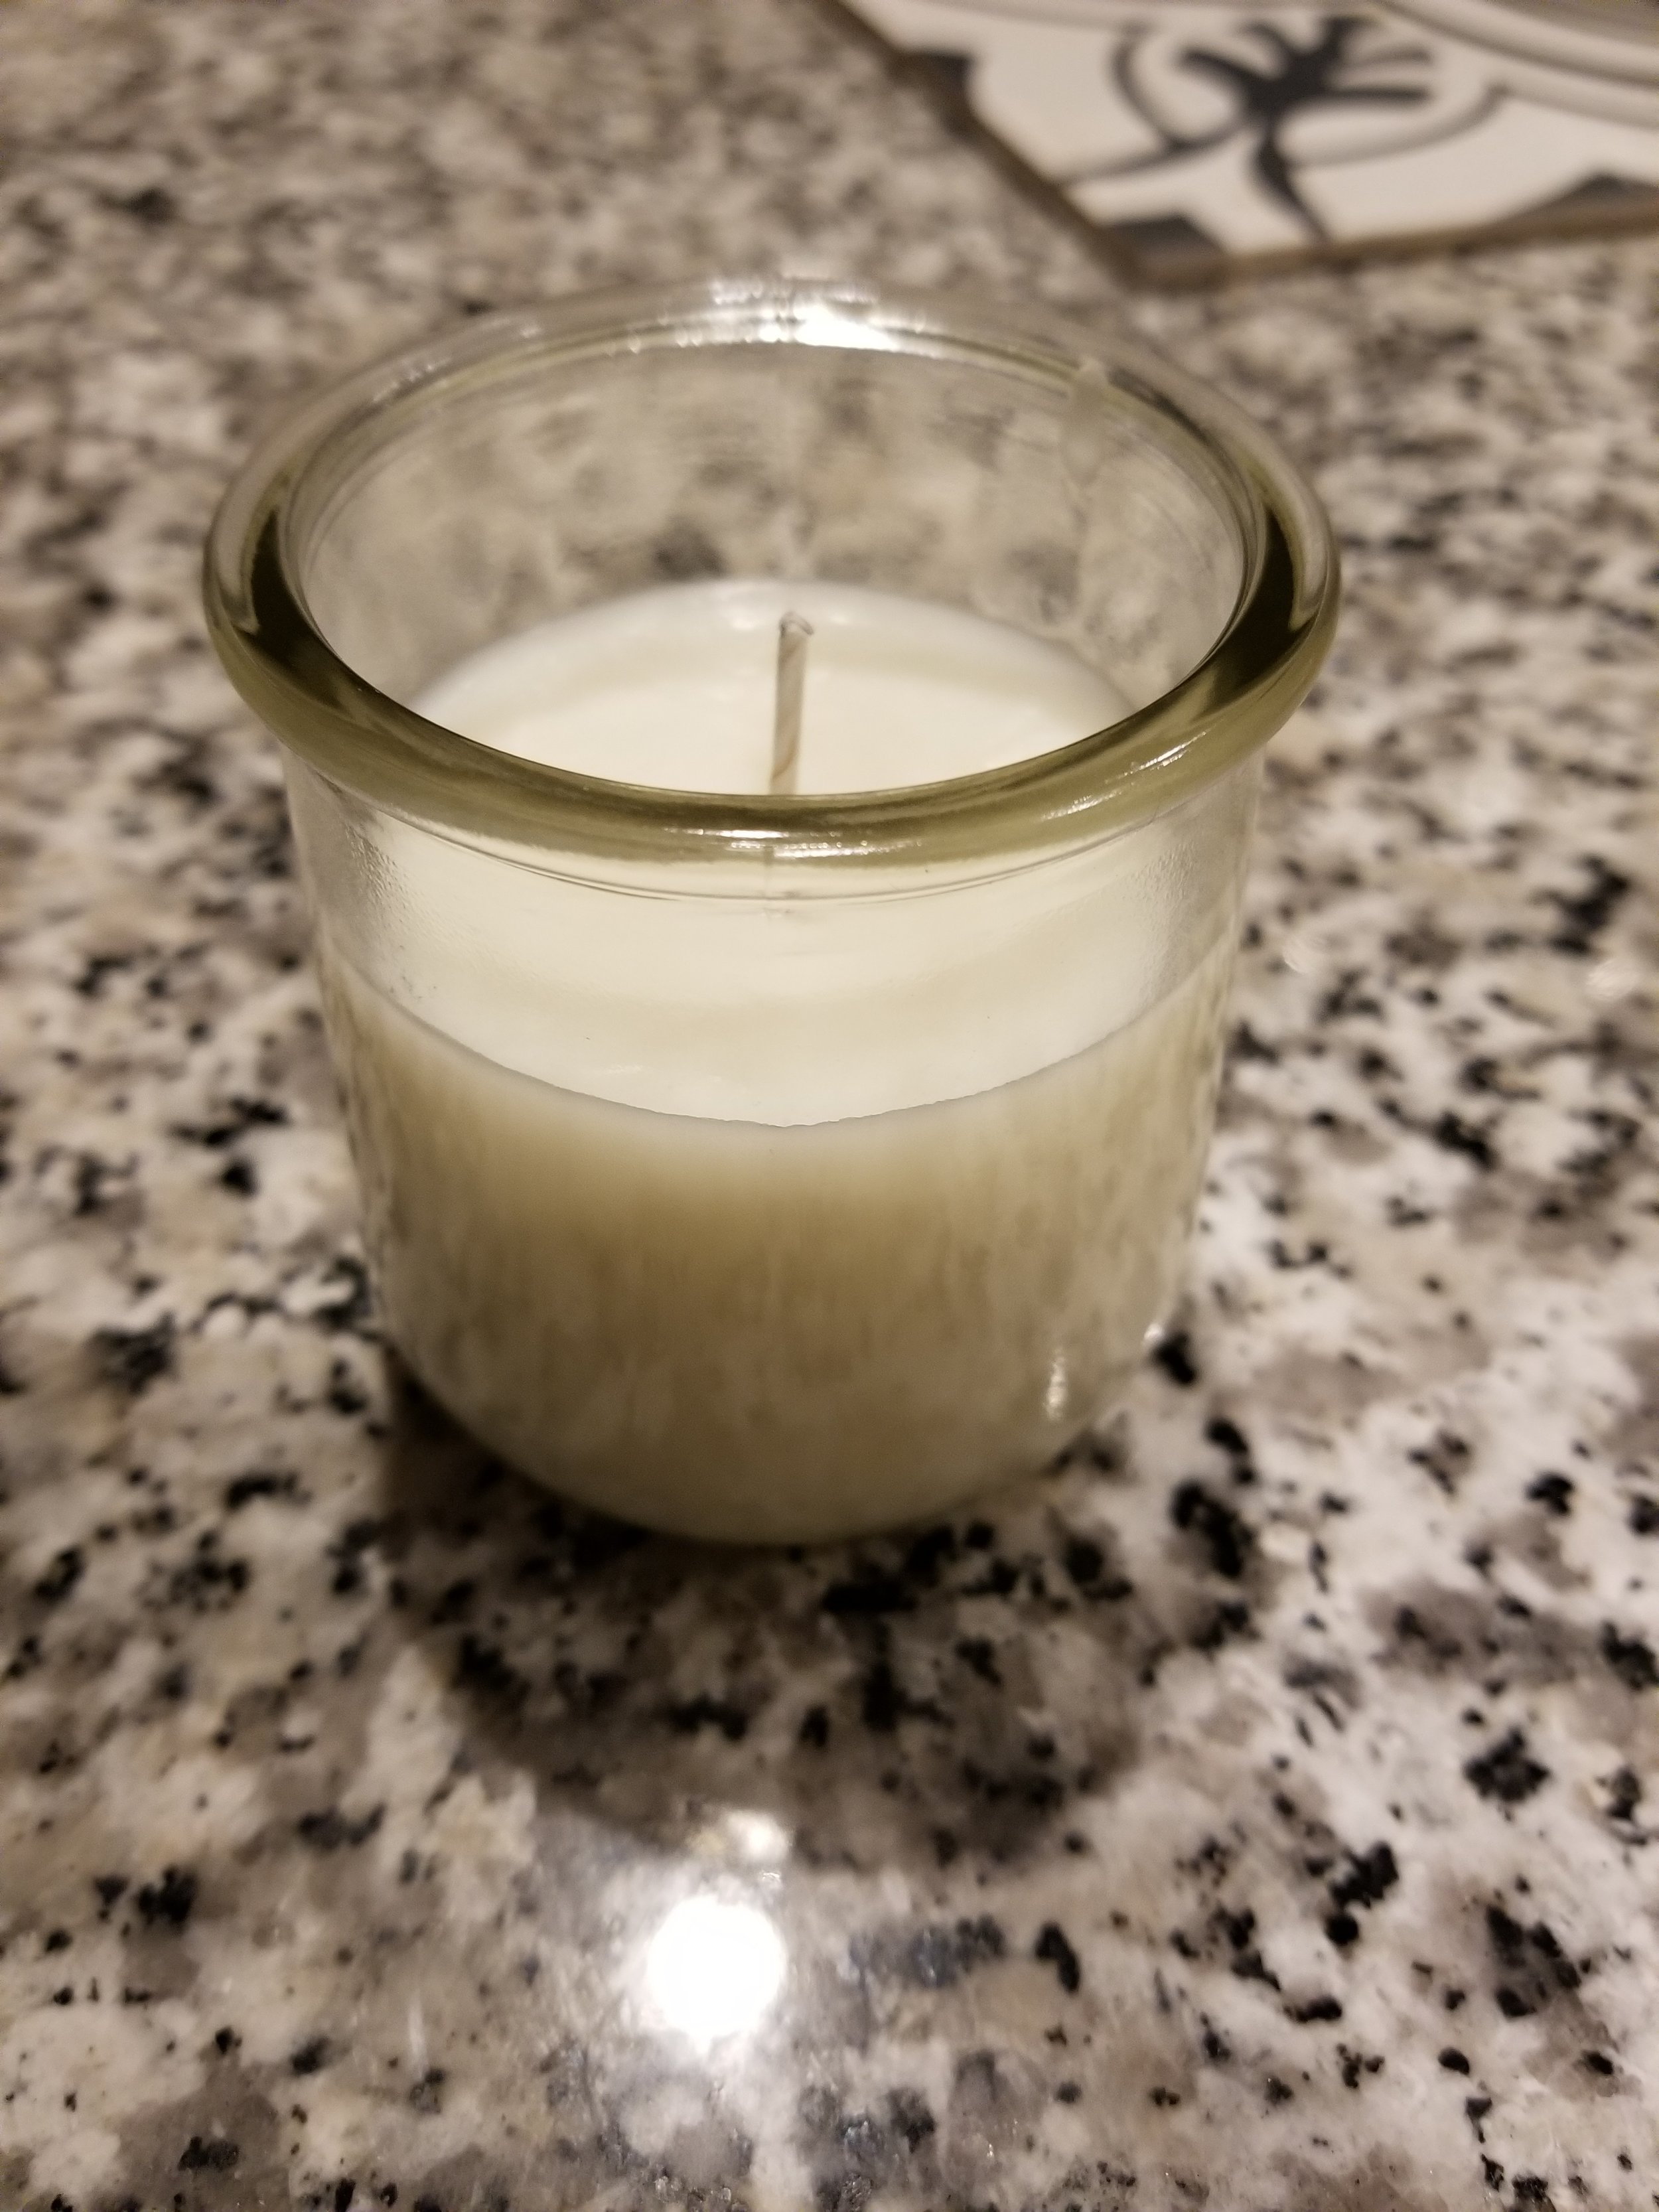
Step 10: Once the candle is completely cool, trim the wick to 1/4". Allow the candle to sit for at least 24 hours before lighting.
Step 11: Light and enjoy or wrap and send to a friend!
See you next Sunday!
Sincerely yours,
LPJ